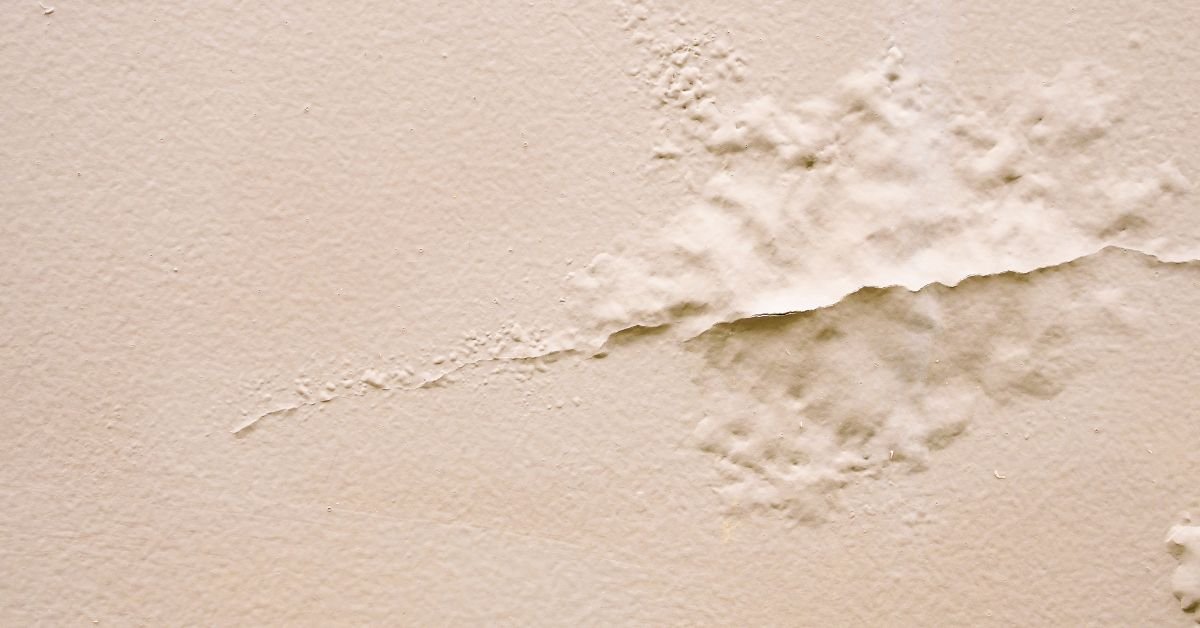
How to Repair Cracked Wall Paint
A Step-by-Step DIY Guide
Cracked paint on your walls can make an otherwise tidy room look neglected. Whether you have noticed fine hairline cracks, peeling paint around a doorway, or larger patches where the paint has started splitting, the good news is that many paint problems can be repaired without hiring a professional.
Learning how to repair cracked wall paint is a straightforward DIY job when you understand what causes the damage and prepare the surface properly before repainting. Simply brushing another coat of paint over the cracks rarely works. The underlying problem needs to be fixed first, or the cracks will probably return.
In this guide, we will walk through the tools you need, how to prepare the damaged area, how to fill and sand the surface, and how to achieve a smooth, professional-looking finish. We will also explain when cracked paint could indicate a more serious wall problem.
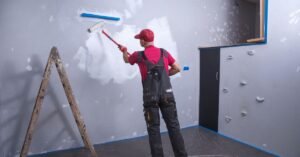
What Causes Wall Paint to Crack?
Before repairing cracked paint, it helps to understand why it happened in the first place.
Paint forms a protective coating over your walls. Over time, that coating can lose flexibility, separate from the surface or develop cracks.
Some common causes include:
-
Poor surface preparation: Painting over dust, grease, loose paint or dirt prevents proper adhesion.
-
Applying paint too thickly: Heavy coats can dry unevenly and become more likely to crack.
-
Using incompatible paint products: Applying certain paints over unsuitable existing coatings can cause adhesion problems.
-
Ageing paint: Older paint can become brittle and start breaking apart.
-
Moisture problems: Water entering through leaking roofs, plumbing or external walls can cause paint to bubble, peel and crack.
-
Movement in the wall: Small changes in building materials can create cracks in the paint or underlying plaster.
There is also a difference between cracked paint and cracked plaster.
If the damage is limited to the paint film, you can usually repair it yourself. However, if the plaster underneath is splitting, crumbling or moving, you will need to address that problem before repainting.
Tools and Materials You Will Need
You do not need an expensive collection of equipment to repair most cracked wall paint.
Gather these basic supplies before getting started.
| Tool or Material | Purpose |
|---|---|
| Paint scraper | Removes loose and flaking paint |
| Filling knife | Applies wall filler |
| Interior wall filler | Repairs small cracks and damaged areas |
| Sandpaper (120–180 grit) | Smooths the repaired surface |
| Fine sandpaper (220 grit) | Final surface preparation |
| Dusting brush | Removes sanding dust |
| Cleaning cloth | Cleans the wall |
| Drop sheet | Protects floors and furniture |
| Paint primer | Seals repaired areas |
| Matching wall paint | Restores the original finish |
| Paintbrush or roller | Applies primer and paint |
| Safety glasses and dust mask | Protects against dust and debris |
For Australian homeowners, interior wall fillers are readily available from hardware stores such as Bunnings.
Choose a filler suitable for your wall material and the depth of the damage.
How to Repair Cracked Wall Paint: Step-by-Step Instructions
Follow these steps.
Step 1: Inspect the Cracked Paint
Start by examining the damaged area carefully.
Look at the size, depth and pattern of the cracks.
Small hairline cracks in the paint film are generally easier to repair than large areas of peeling or splitting paint.
Check whether:
-
The cracks are only in the paint.
-
The plaster underneath feels solid.
-
The paint is bubbling or lifting away.
-
There are signs of dampness or water staining.
-
The wall has developed larger cracks.
Gently press around the damaged area. If the paint flakes away easily, it needs to be removed before you begin filling.
Practical tip: If you notice a damp smell, water staining or recurring bubbling, investigate the moisture problem first. Painting over damp walls will not provide a lasting repair.
Step 2: Remove Loose and Cracked Paint
Work slowly. You only need to remove paint that is no longer firmly attached to the wall.
Avoid digging the scraper into the plasterboard or plaster underneath.
Continue scraping until you reach a stable edge where the remaining paint is firmly attached.
If the damaged section has several layers of loose paint, remove all the unstable material.
Wear safety glasses and a suitable dust mask, particularly when sanding or scraping older coatings. In Australian homes, older paint may contain lead, especially in properties built before 1970. If you suspect lead paint, do not dry-sand or scrape it. Arrange appropriate testing and safe removal.
Step 3: Sand the Damaged Area
Once the loose paint has been removed, use 120–180 grit sandpaper to smooth the edges around the damaged section.
The goal is to create a gradual transition between the existing paint and the exposed wall surface.
This prevents a noticeable ridge from appearing after repainting.
Sand lightly rather than applying excessive pressure.
When finished, use a dusting brush or clean cloth to remove the sanding dust.
The surface should feel reasonably smooth when you run your hand over it.
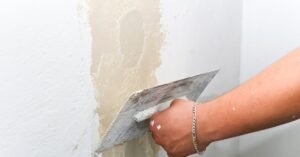
Step 4: Apply Wall Filler to the Cracks
Choose a suitable interior wall filler and follow the manufacturer’s mixing and application instructions.
For small cracks:
-
Scoop a small amount of filler onto your filling knife.
-
Press it firmly into the crack.
-
Spread the filler slightly beyond the damaged area.
-
Hold the knife at a shallow angle.
-
Remove excess filler to leave a reasonably flat surface.
For deeper cracks, you may need to apply more than one coat.
Allow the first application to dry before adding another layer.
Avoid applying a thick mound of filler in one go. Multiple thin applications generally produce a smoother repair and reduce shrinkage problems.
If the crack is wider, particularly where plasterboard joints are separating, ordinary surface filler may not be enough. A suitable joint repair system or reinforcing tape may be required.
Step 5: Allow the Filler to Dry
This is one step you should never rush.
Wall filler needs sufficient time to dry before sanding or painting.
Drying times vary depending on:
-
The type of filler.
-
The depth of the repair.
-
Room temperature.
-
Air circulation.
-
Humidity levels.
Check the manufacturer’s instructions rather than relying on a fixed drying time.
In humid Australian conditions, some products may take longer to dry.
The filler should be completely dry before you move on.
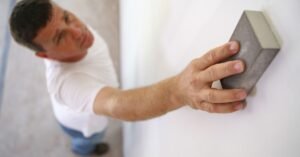
Step 6: Sand the Repaired Surface Smooth
For the final finish, you can use finer 220-grit sandpaper.
Sand gently using circular movements or light strokes.
Your objective is to blend the repaired section into the surrounding wall.
Run your hand over the repair to check for raised edges or uneven patches.
If you can still feel a noticeable dip or ridge, apply another thin layer of filler, allow it to dry and sand again.
Remove all sanding dust before proceeding.
Step 7: Apply a Suitable Primer
Many DIY repairs look good initially but become noticeable after painting.
One reason is that bare filler absorbs paint differently from the surrounding wall.
A suitable primer or sealer helps create a more uniform surface.
Apply the product recommended for your filler and wall type.
Pay particular attention to exposed plasterboard paper and repaired areas.
Allow the primer to dry according to the manufacturer’s instructions.
This step helps prevent dull patches and uneven paint absorption.
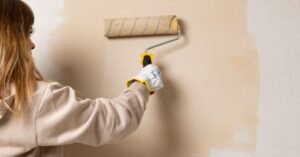
Step 8: Repaint the Wall
Use the same colour and paint finish as the existing wall wherever possible.
Apply the paint evenly using a quality roller or brush.
For the best result:
-
Start with a thin, even coat.
-
Avoid loading the roller with too much paint.
-
Work in manageable sections.
-
Allow the first coat to dry.
-
Apply a second coat if required.
If the repair is in a highly visible location, repainting the entire wall from corner to corner may produce a better colour match.
Even when you use the original paint colour, older walls may have faded slightly over time.
Common Mistakes to Avoid When Repairing Cracked Wall Paint
A few simple mistakes can turn an easy repair into a frustrating job.
Here are the ones worth avoiding.
1. Painting directly over cracked paint
This is one of the most common DIY mistakes. Loose paint will continue separating underneath the new coating.
Remove unstable paint before applying filler or primer.
2. Skipping surface preparation
Dust, grease and loose material can interfere with adhesion.
Clean and prepare the wall properly before repairing it.
3. Applying too much filler
Thick layers can shrink, crack or become difficult to sand.
Apply thin layers and allow sufficient drying time.
4. Forgetting the primer
Unsealed filler can absorb paint unevenly, leaving visible patches.
Use an appropriate primer or sealer before repainting.
5. Rushing the drying process
Painting over damp filler can affect the final finish.
Follow the product instructions and allow adequate drying time.
Helpful Tips for Getting a Professional Finish
If you want your repair to blend into the existing wall, a little extra attention makes a difference.
-
Use good lighting: Shine a work light across the wall to reveal bumps and imperfections.
-
Use the right sandpaper: Start with medium-grit paper and finish with a finer grade.
-
Keep your filling knife clean: Dried filler on the blade can leave unwanted marks.
-
Match the paint finish: Matt, low-sheen and semi-gloss paints reflect light differently.
-
Use quality tools: A decent filling knife and sanding block make the job easier.
-
Test the paint colour: Apply a small sample before repainting the entire damaged area.
One useful trick is to inspect the repair from different angles before painting. Imperfections that are difficult to see directly in front of the wall can become obvious when light hits the surface from the side.
When Should You Call a Professional?
Consider contacting a qualified builder, plasterer or appropriate building professional if you notice:
-
Large or widening cracks.
-
Diagonal cracks extending from windows or doorways.
-
Cracks that repeatedly return after repairs.
-
Plasterboard that is bulging or separating.
-
Water damage or persistent dampness.
-
Cracks accompanied by sticking doors or windows.
-
Signs of structural movement.
If you suspect a leaking pipe, roof leak or external water penetration, have the source identified and repaired before repainting.
Do not simply cover up serious damage with filler and paint.
Frequently Asked Questions
1. Can you paint directly over cracked wall paint?
No. Painting directly over cracked or peeling paint usually produces a poor result. Remove loose material, prepare the surface, fill any damaged areas, sand smooth and apply a suitable primer before repainting.
2. What is the best filler for cracked wall paint?
A suitable interior wall filler works well for small cracks and shallow surface damage. For larger cracks or plasterboard joint problems, you may need a specialised joint compound and reinforcing tape.
3. Why does my wall paint keep cracking?
Recurring cracks can result from poor surface preparation, incompatible paint products, excessive paint thickness, moisture or movement in the wall. Identify and correct the underlying cause before attempting another repair.
4. Do I need to sand cracked paint before repainting?
Yes, in most cases. Remove loose paint and lightly sand the edges to create a smooth transition. Always take appropriate precautions if the existing coating could contain lead.
5. How long does it take to repair cracked wall paint?
A small repair may take a few hours of hands-on work, but drying times can extend the job over a day or longer. Larger repairs may require additional filler applications and sanding.
6. Can I use plaster to repair cracked paint?
For small surface cracks, a suitable interior wall filler is usually easier to apply. Plaster products are more appropriate for certain deeper repairs and should be selected according to the wall construction and damage.
7. Will repaired wall paint look exactly the same?
It can blend in very well, but an exact match is not guaranteed. Differences in paint age, colour fading and surface texture can make repairs visible. Repainting the entire wall often gives the most consistent finish.