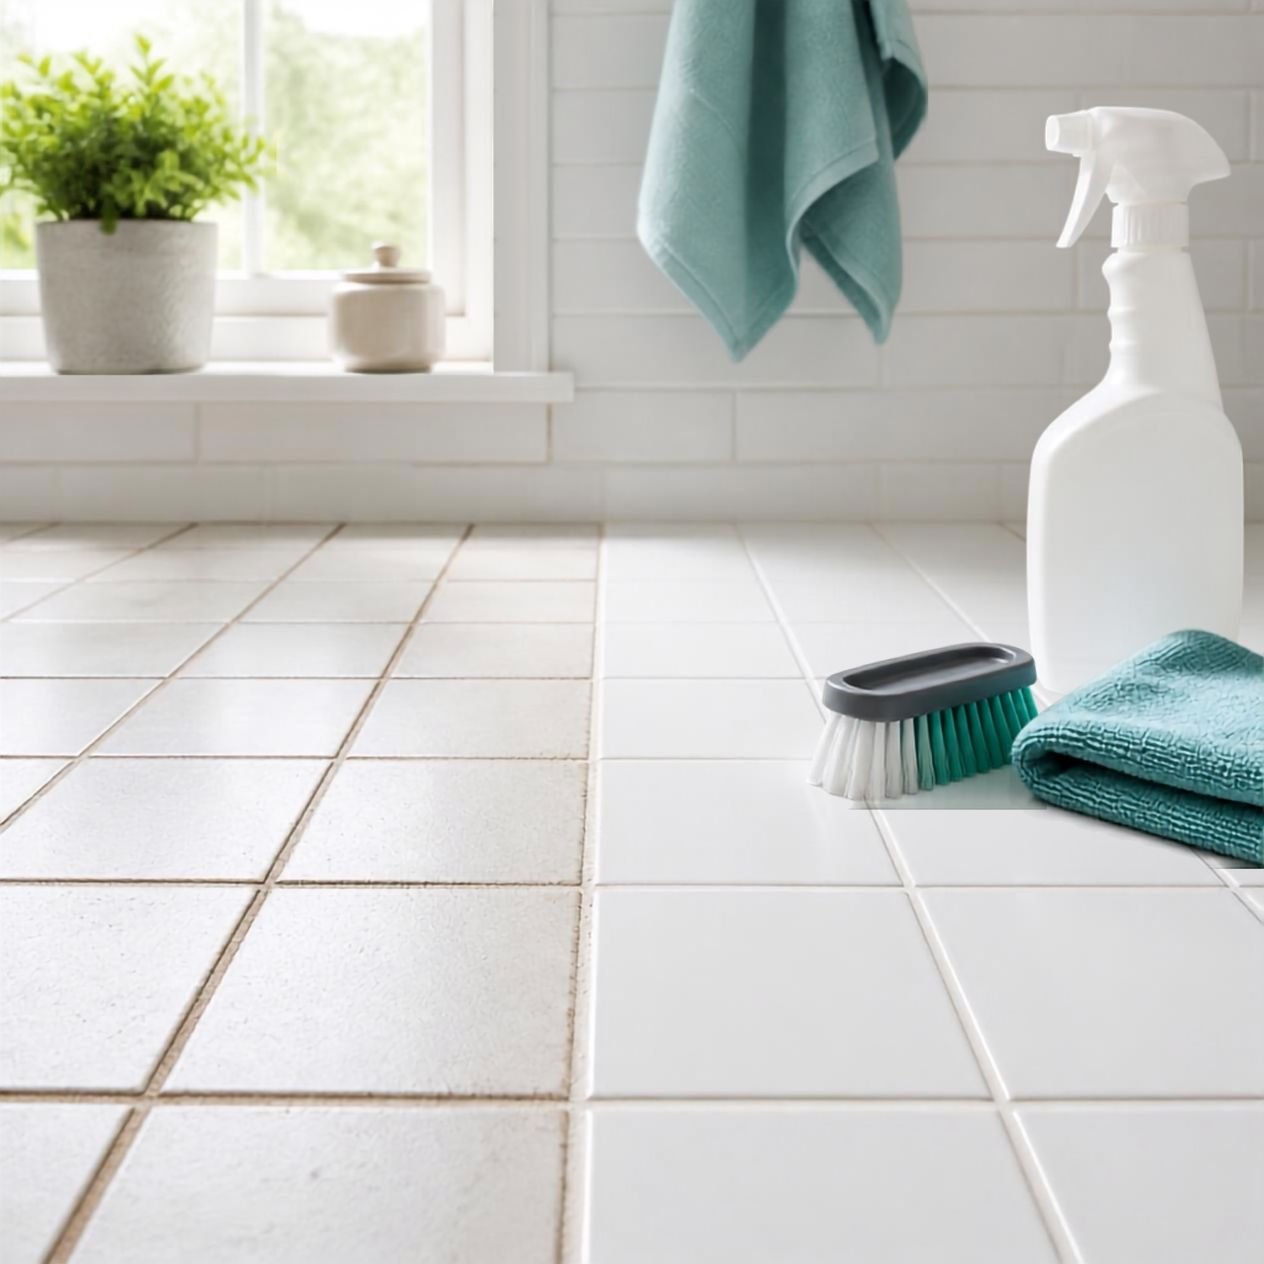
Best Way To Clean Grout Between Tiles
A little baking soda and warm water can transform grimy grout, but the best way to clean grout between tiles depends on what has made it dirty in the first place. Bathroom grout may be stained with soap scum and mould, while kitchen grout often has grease and food residue trapped in its porous surface.
The good news? You usually don’t need expensive specialist products. With the right cleaner, a stiff grout brush, and a little patience, you can get surprisingly good results.
Why Grout Gets So Dirty
Grout is more porous than most tile surfaces. That means it can absorb moisture, dirt, oils and spills instead of simply allowing them to sit on top.
In bathrooms, repeated exposure to water creates another problem. Damp grout can become a comfortable home for mould and mildew, particularly where ventilation is poor.
Floor grout has its own challenges. Dust, hair, mud and general household grime can gradually build up until light-coloured grout looks grey or brown.
Cleaning regularly makes a huge difference. Once dirt becomes deeply embedded, the job takes considerably longer.
The Best Way to Clean Grout Between Tiles
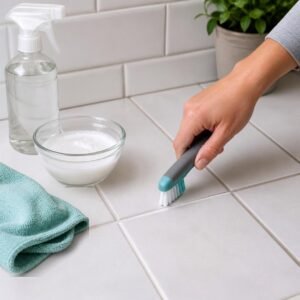
For ordinary dirty grout, start with a simple paste made from baking soda and water.
Mix enough baking soda with a small amount of water to create a thick paste. You want it spreadable, not runny.
Apply the paste directly to the grout lines. Let it sit for around 5–10 minutes, then work it into the grout using a stiff nylon grout brush or an old toothbrush.
Don’t scrub wildly. Short, firm strokes are more effective and reduce the chance of damaging the surrounding surfaces.
After scrubbing, wipe the area with a clean damp cloth or mop. You may need to rinse several times because baking soda can leave a residue.
For Greasy Kitchen Grout
Kitchen grout often needs a slightly different approach because cooking oils can create a stubborn film.
Start by wiping away loose dirt. Then use warm water mixed with a small amount of dishwashing detergent.
Apply it to the grout and allow several minutes for the detergent to loosen the grease. Scrub with a grout brush, rinse with clean water and dry the area.
If the grout still looks dirty, repeat the process rather than immediately reaching for a much stronger chemical cleaner.
How to Clean Bathroom Grout
Bathroom grout needs special attention because moisture, soap residue and mildew frequently occur together.
Begin by removing surface dirt with warm water. Apply your baking soda paste and scrub along each grout line.
For areas affected by mould, a suitable commercial mould cleaner can be more appropriate than baking soda alone. Always follow the product’s directions and make sure the bathroom is well ventilated.
Never mix different cleaning chemicals together. In particular, never mix bleach with ammonia, vinegar or acidic cleaners, as dangerous gases can be produced.
Pay Attention to Corners
Look closely at the corners where walls meet floors and around the edges of the shower.
These areas often stay wet longer than the middle of the tiled surface. If mould repeatedly returns, cleaning alone may not solve the underlying problem.
Poor ventilation, leaking fixtures or deteriorating sealant can keep supplying the moisture that mould needs.
Should You Use Vinegar on Grout?
Vinegar is often recommended as a household cleaning solution, but you need to be careful with it.
Vinegar is acidic. Regular exposure can potentially damage or weaken certain cement-based grout and can also harm natural stone tiles such as marble and limestone.
If your tiles or grout are made from natural stone, avoid experimenting with acidic household cleaners. Check the manufacturer’s cleaning recommendations first.
For ordinary ceramic or porcelain tile installations, there are still safer options for routine grout cleaning, including mild detergent solutions and baking soda.
How to Scrub Grout Without Damaging It
The tool you use matters almost as much as the cleaner.
A dedicated grout brush is usually the best choice because its narrow shape lets you concentrate pressure directly on the grout line.
Use a nylon-bristled brush rather than an extremely abrasive brush. Wire brushes can scratch tiles and damage grout.
Work in small sections.
For example, clean a 60-centimetre section of grout rather than spreading cleaner across an entire bathroom. You can concentrate on one area, scrub thoroughly, rinse it and move on.
This approach also makes it easier to see your progress.
A Simple Grout-Cleaning Method
For everyday dirty grout, follow this process:
- Remove loose dust and dirt.
- Mix baking soda with a little water.
- Spread the paste over the grout.
- Leave it for 5–10 minutes.
- Scrub with a nylon grout brush.
- Wipe away the dirty residue.
- Rinse with clean water.
- Dry the tiles and grout thoroughly.
That’s it.
You don’t need to flood the floor with cleaner. In fact, excessive water can make bathroom cleaning harder because moisture may remain trapped in porous grout.
What If the Grout Is Black?
Black-looking grout doesn’t always mean the grout itself has permanently changed colour.
It may simply be coated with mould, mildew or accumulated dirt. Try cleaning a small inconspicuous section first to determine whether the colour can be restored.
If the dark appearance remains after thorough cleaning, the grout may be permanently stained.
At that point, grout colouring or replacement may provide a better result than repeatedly scrubbing it.
How to Remove Mould From Grout
Mould requires more than simply making the grout look clean.
Wear appropriate protective equipment and ventilate the room before using a mould-specific product. Follow the label carefully and never combine it with another cleaner.
After treatment, rinse surfaces where the product instructions call for rinsing and allow the area to dry completely.
Then tackle the cause.
A bathroom with poor airflow can develop mould again surprisingly quickly. Running an exhaust fan during showers and for a period afterward can help reduce moisture.
Wiping excess water from shower walls also helps.
Don’t Forget the Sealer
Once grout has been cleaned and completely dried, consider whether it needs resealing.
Many cement-based grouts benefit from an appropriate grout sealer because sealing can reduce the amount of moisture and staining that penetrates the surface.
Not every grout requires the same treatment. Some modern grout products are designed to be highly stain resistant, while epoxy grout has different maintenance requirements.
Check the grout manufacturer’s recommendations before applying a sealer.
How Often Should You Clean Grout?
There’s no single schedule that works for every home.
A shower used by several people every day may need attention much more frequently than a rarely used guest bathroom.
For busy bathrooms, a quick weekly clean can prevent grime from becoming established. Kitchens may need more frequent spot cleaning around areas where food and grease are regularly spilled.
The trick is to clean before the grout looks dirty.
A few minutes of maintenance is much easier than trying to restore heavily stained grout months later.
When Cleaning Isn’t Enough
Sometimes dirty-looking grout isn’t actually dirty.
Cracked grout, crumbling sections or permanently discoloured areas may indicate that the material needs repair or replacement.
Likewise, if mould keeps returning despite thorough cleaning, investigate moisture problems rather than repeatedly treating the visible symptoms.
A leaking shower, damaged sealant or inadequate ventilation can all contribute to recurring problems.
Keep Your Grout Looking Cleaner for Longer
Once you’ve done the hard work, prevention becomes your friend.
Dry wet bathroom surfaces when practical. Deal with spills on kitchen floors quickly. Vacuum or sweep tiled floors regularly so dirt doesn’t get ground into the grout by foot traffic.
Most importantly, don’t wait until the grout is almost black before cleaning it.
The best way to clean grout between tiles is usually a combination of the right cleaner, controlled scrubbing, thorough rinsing and regular maintenance. You don’t necessarily need the strongest chemical available. You need the right method for the type of dirt you’re dealing with.
And that’s what makes grout cleaning much less of a chore.