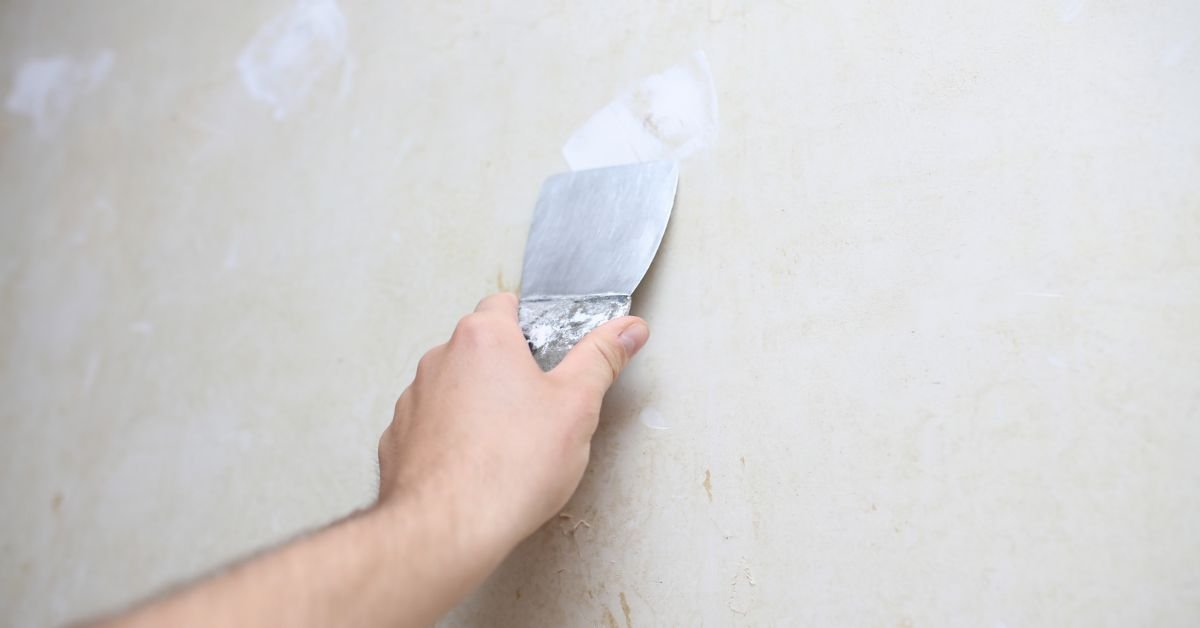
How to Patch Holes in Plasterboard Walls
A Step-by-Step DIY Guide
A hole in a plasterboard wall can make an otherwise tidy room look neglected. Whether it’s from a door handle, accidental damage, removing a wall fixture or moving furniture, the good news is that most plasterboard holes can be repaired without hiring a tradesperson.
Learning how to patch holes in plasterboard walls is a useful DIY skill that can save you money and help keep your home looking its best. The trick is choosing the right repair method for the size of the hole and taking your time with the finishing work.
In this guide, we’ll walk through the tools and materials you’ll need, explain how to repair small, medium and larger holes, and show you how to achieve a smooth finish ready for painting. Even if you’ve never attempted a wall repair before, you can get a professional-looking result with a little patience.
What You Need to Know Before Patching Plasterboard
Plasterboard, sometimes called drywall or gyprock, is commonly used for internal walls and ceilings. It consists of a gypsum core covered with strong paper facing.
Although it’s reasonably durable, plasterboard can crack or develop holes when something strikes it. Fortunately, the damage is often superficial and relatively easy to repair.
Before starting, examine the damaged area.
The size of the hole determines which repair technique you should use.
| Hole size | Recommended repair method | Difficulty |
|---|---|---|
| Small nail holes | Lightweight wall filler | Very easy |
| Small screw holes | Plasterboard joint compound | Easy |
| Holes up to 50 mm | Filler or suitable repair patch | Easy |
| Medium holes, 50–150 mm | Self-adhesive mesh patch | Moderate |
| Larger holes | Replacement plasterboard section | Moderate |
These measurements are general guidelines. The condition of the surrounding plasterboard and the availability of solid support behind the damaged area also matter.
One important tip: Before cutting into a wall, check for concealed electrical cables and plumbing pipes. Never assume the space behind the plasterboard is empty.
Tools and Materials You Will Need
Having everything ready before you begin makes the job much easier.
For most plasterboard repairs, you’ll need:
-
Plasterboard joint compound or suitable wall filler
-
Putty knife or filling blade
-
Sanding block
-
Fine-grit sandpaper (around 120–180 grit)
-
Self-adhesive fibreglass mesh repair patch
-
Utility knife
-
Clean cloth or sponge
-
Dust mask and safety glasses
-
Primer or sealer
-
Matching interior wall paint
For larger repairs, you may also need:
-
Replacement plasterboard
-
Plasterboard saw
-
Timber backing strips
-
Screws suitable for plasterboard
-
Drill and screwdriver
-
Jointing tape
You don’t need an expensive collection of tools. A basic DIY repair kit will handle many everyday wall repairs.
How to Patch Holes in Plasterboard Walls: Step-by-Step
The following methods cover the most common types of damage. Choose the one that matches your wall.
Method 1: Repair Small Nail and Screw Holes
Small holes left behind by picture hooks, nails and screws are usually the easiest to repair.
Step 1: Clean the hole
Remove any loose plaster, dust or damaged paper around the opening.
If the hole has a raised edge, gently scrape it flat with a filling knife.
Step 2: Apply wall filler
Take a small amount of lightweight wall filler and press it firmly into the hole using a putty knife.
Make sure the filler completely fills the opening.
Step 3: Smooth the surface
Run the filling knife across the area to remove excess filler. Try to leave the repaired section as level as possible with the surrounding wall.
Don’t worry if it looks slightly uneven at this stage.
Step 4: Allow it to dry
Follow the manufacturer’s drying instructions. Some lightweight fillers dry relatively quickly, while deeper repairs take longer.
Step 5: Sand and finish
Once completely dry, lightly sand the area using fine-grit sandpaper.
Wipe away the dust with a clean cloth before applying primer and matching paint.
For tiny holes, this simple method is usually all that’s needed.
Method 2: Patch Medium-Sized Holes Using a Mesh Repair Patch
These patches are available from hardware stores and are designed to provide support for filler across a damaged area.
Step 1: Prepare the damaged area
Remove loose pieces of plasterboard and damaged paper. Trim ragged edges carefully.
The surrounding wall should be firm and reasonably flat.
Step 2: Apply the mesh patch
Choose a repair patch large enough to cover the hole with an overlap around the damaged area.
Remove the backing and press the patch firmly against the wall.
Make sure it sits flat without bubbles or loose edges.
Step 3: Apply the first coat of compound
Using a filling knife, spread plasterboard joint compound over the mesh.
Work from the centre towards the outside, ensuring the mesh is completely covered.
Feather the edges so the repair gradually blends into the surrounding wall.
Step 4: Allow it to dry
Leave the compound to dry according to the product instructions.
Avoid rushing this stage. Applying another coat while the first is still wet can cause problems with cracking and shrinkage.
Step 5: Apply a second coat
Once dry, apply another thin coat of joint compound.
Extend it slightly beyond the first coat to create a smooth transition between the repaired area and the wall.
A third thin coat may be needed if the mesh pattern remains visible or the surface is uneven.
Step 6: Sand the repair
When the final coat is completely dry, lightly sand the area until smooth.
Use a sanding block rather than pressing hard with your fingers. This helps prevent dips and uneven patches.
Method 3: Repair Larger Holes by Replacing the Damaged Plasterboard
If a substantial section of plasterboard is missing, replacing the damaged section is often the better option.
Step 1: Mark a square or rectangular section
Use a straightedge and pencil to mark a neat shape around the damaged area.
A regular shape is easier to repair than an irregular opening.
Before cutting, check for hidden services and confirm that the cutting area is clear.
Step 2: Cut out the damaged plasterboard
Carefully cut along your marked lines using a suitable plasterboard saw.
Avoid cutting deeper than necessary.
Remove the damaged section and clean away loose material.
Step 3: Install timber backing
If there are no existing wall studs or framing behind all the edges of the opening, fit timber backing strips behind the plasterboard.
The timber should extend beyond the opening so the new plasterboard section can be securely screwed into it.
Take care not to damage concealed wiring or plumbing when installing the backing.
Step 4: Cut the replacement piece
Measure the opening and cut a replacement piece of plasterboard to fit.
It should sit neatly within the opening without being forced into position.
Step 5: Secure the replacement
Position the new plasterboard section and screw it into the timber backing or suitable existing framing.
The surface should sit flush with the surrounding wall.
Step 6: Tape and apply joint compound
Cover the joins with appropriate plasterboard jointing tape.
Apply joint compound over the tape, spreading it beyond the edges to blend the repair into the existing wall.
Allow each coat to dry before applying the next.
Step 7: Sand and prepare for painting
Once the final coat has dried, sand gently until the repair is smooth and even.
Remove all sanding dust before priming.
Larger repairs take more work, but the finished result can be virtually invisible when properly prepared and painted.
Common Mistakes to Avoid When Repairing Plasterboard
A small wall repair can become a frustrating job if you rush the process.
Here are some mistakes worth avoiding.
1. Applying too much filler
Thick layers of filler can shrink as they dry and create an uneven surface.
Apply several thin coats instead of trying to fill everything in one application.
2. Skipping surface preparation
Loose plaster, dust and damaged paper can prevent the repair compound from bonding properly.
Always clean and prepare the area before applying filler.
3. Sanding before the compound is dry
Wet or partially dried compound can tear and create an uneven finish.
Follow the manufacturer’s drying instructions.
4. Using the wrong repair method
Filling a large hole with ordinary wall filler is unlikely to produce a durable repair.
Choose a repair patch or replacement plasterboard when the damage is too extensive for simple filling.
5. Forgetting to prime the repair
Fresh filler absorbs paint differently from the surrounding painted wall.
Without suitable preparation, the repaired section may appear dull or patchy.
Use an appropriate primer or sealer before applying your finishing paint.
Helpful Tips for Getting a Smooth Professional Finish
Try these practical tips:
-
Use a wide filling knife: A wider blade makes it easier to feather compound across the wall.
-
Apply thin coats: Multiple thin layers generally produce a better finish than one thick application.
-
Use good lighting: Shine a work light across the wall to reveal bumps and dips.
-
Sand gently: Excessive sanding can damage the surrounding paper surface.
-
Clean thoroughly: Remove sanding dust before priming or painting.
-
Match the paint: Use the same colour and finish as the existing wall.
-
Paint beyond the repair: Depending on the paint and lighting, blending into a larger area may help disguise the repaired section.
If you’re repairing a wall in a highly visible area, take extra time with the final sanding.
It’s much easier to correct an uneven surface before painting than afterwards.
When Should You Call a Professional?
Most small plasterboard holes are suitable for DIY repairs. However, some damage needs a professional assessment.
Consider contacting a qualified tradesperson if:
-
The wall has extensive cracking or movement.
-
A large section of plasterboard has collapsed.
-
The damage may involve structural framing.
-
You suspect water has damaged the wall.
-
There is mould growing behind or around the plasterboard.
-
The wall feels soft, damp or unstable.
-
You suspect electrical cables or plumbing have been damaged.
Water damage deserves particular attention. Simply covering a damaged section with fresh plasterboard won’t solve the underlying problem.
Find and repair the source of the moisture first. If the wall contains extensive mould or has been wet for a prolonged period, professional assessment may be necessary.
Also, never cut into a wall without checking for concealed services. If you’re unsure where electrical cables or pipes are located, get appropriate professional advice before proceeding.
Frequently Asked Questions
1. Can you patch a hole in plasterboard without replacing it?
Yes. Small holes can usually be repaired using wall filler, while medium-sized holes can often be covered with a self-adhesive mesh repair patch. Larger holes generally need a replacement plasterboard section for a stronger repair.
2. What is the best filler for plasterboard holes?
Lightweight wall filler works well for small holes and minor damage. For larger repairs and taped joints, use a suitable plasterboard joint compound designed for the job.
3. How do you repair a large hole in a plasterboard wall?
Cut away the damaged material into a neat shape, install suitable backing where required, fit a replacement plasterboard piece and secure it properly. Finish the joins with jointing tape and compound before sanding and painting.
4. Do you need to use a plasterboard repair patch?
Not always. Small nail and screw holes can be filled directly. A mesh or other suitable repair patch is useful when the opening is too large for ordinary filler to bridge reliably.
5. How many coats of filler should you use?
Small holes may only need one application. Medium and larger repairs often require two or three coats of joint compound to cover the patch, fill imperfections and create a smooth finish.
6. Can you paint directly over plasterboard filler?
It’s better to apply a suitable primer or sealer first. Fresh filler can absorb paint differently from the surrounding wall, resulting in visible dull or uneven patches.
7. How long does a plasterboard repair take to dry?
Drying times depend on the product, thickness of the application, temperature and humidity. Small repairs may dry within a few hours, while thicker applications can take considerably longer. Always follow the manufacturer’s instructions.
8. Will a plasterboard repair be visible after painting?
A properly prepared repair can blend in extremely well. However, differences in paint colour, sheen and wall texture can make a patch noticeable. Careful sanding, priming and paint matching help produce a better result.
Final Thoughts
Learning how to patch holes in plasterboard walls is one of those practical DIY skills that every homeowner can benefit from.
Small holes are generally straightforward to repair with wall filler, while medium-sized openings can be tackled using mesh repair patches. Larger holes require a little more work, but replacing a damaged section of plasterboard is still a manageable project for someone with the right tools and experience.
The secret is not rushing. Prepare the damaged area properly, apply thin coats, allow everything to dry and take your time sanding before painting.
A little patience can save you the cost of calling a tradesperson and leave your walls looking tidy again.