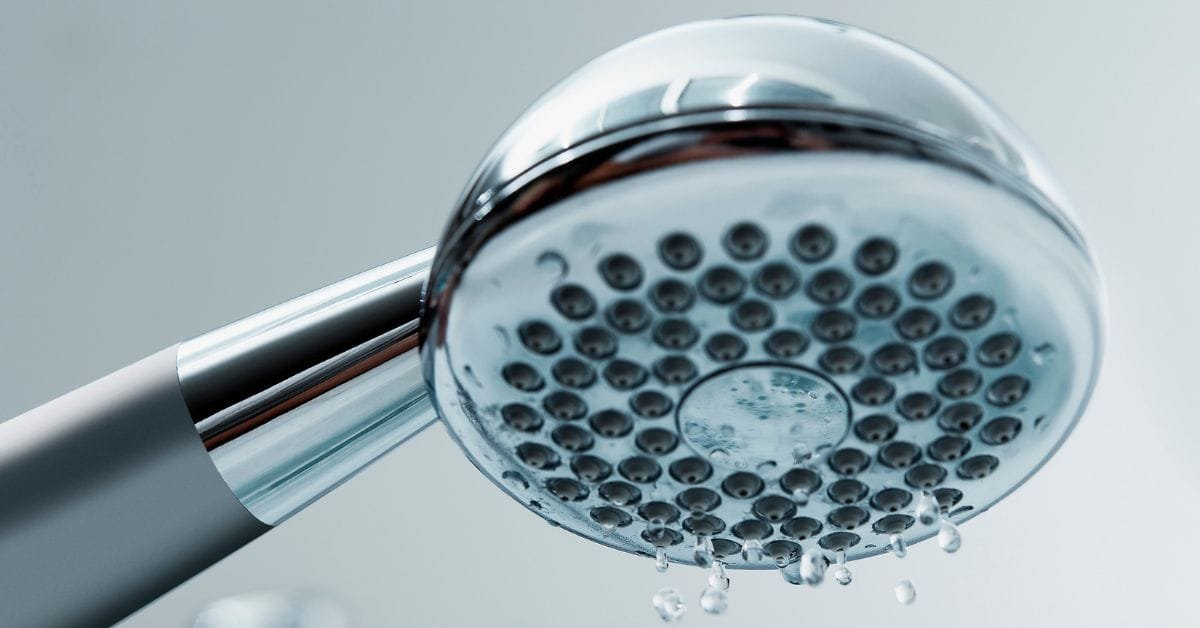
How to Stop a Shower Head from Dripping
A Practical DIY Guide
A dripping shower head might seem like a minor annoyance, but those persistent drops can waste water, leave mineral deposits on your shower fittings and indicate a problem with your tap or mixer. Fortunately, you can often identify the cause and fix it yourself without replacing the entire shower.
Learning how to stop a shower head from dripping starts with working out whether the water is coming from a worn washer, a faulty mixer cartridge, a damaged seal or simply water draining from the shower head after use. Each problem has a slightly different solution.
In this guide, you’ll learn how to diagnose a dripping shower head, which tools you’ll need, how to carry out basic repairs and when it’s best to call a licensed plumber. The advice is suited to Australian homeowners and focuses on straightforward maintenance jobs that don’t require specialised plumbing experience.
What You Need to Know About a Dripping Shower Head
The first step is to determine why your shower head is dripping. The cause usually depends on when the water appears and how long the dripping continues.
If your shower drips for a short time immediately after you turn it off, the water may simply be draining from the shower head and hose. This is often normal.
However, if the shower continues dripping for several minutes or keeps dripping for hours, water may be passing through a tap valve or mixer that isn’t closing properly.
Common causes include:
- Worn tap washers: Older shower taps may use rubber washers that deteriorate with regular use.
- Damaged O-rings: These small rubber seals prevent water from escaping around moving components.
- Faulty mixer cartridges: Modern single-lever showers commonly use cartridges to control water flow and temperature.
- Limescale and mineral deposits: Mineral build-up can interfere with seals and moving parts.
- Damaged valve seats: On some older tap systems, the surface against which the washer seals can become worn or corroded.
- Loose or damaged connections: Water escaping around the shower head or hose may come from a connection rather than the internal valve.
Identifying the actual cause before dismantling anything can save time and prevent unnecessary replacement parts.
How to Stop a Shower Head from Dripping: Step-by-Step Solution
Before starting, check whether the dripping is coming from the shower head itself, the hose connection or the tap or mixer.
Step 1: Check Whether the Dripping Is Normal
Turn off the shower and watch the shower head.
If the dripping stops after a short period, the remaining water may simply be draining from the head or hose. Some shower designs retain more water than others.
If the dripping continues steadily, even when the shower has been off for an extended period, investigate the tap or mixer.
Also check whether water is leaking around the shower head connection. If it is, the problem may be a loose fitting or worn sealing washer rather than the tap valve.
Step 2: Gather Your Tools
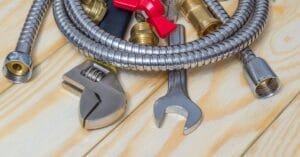
For a typical DIY inspection or minor repair, you may need:
- Adjustable spanner
- Screwdrivers
- Replacement tap washer or O-ring, if applicable
- Replacement mixer cartridge, if required
- Soft cloth or towel
- Small container for screws and fittings
- Cleaning brush
- Manufacturer-approved descaling product, where suitable
The exact tools depend on your shower’s design. Don’t purchase replacement parts until you’ve identified the fitting or cartridge type.
Step 3: Turn Off the Water Supply
Before removing a shower handle, valve component or mixer cartridge, isolate the water supply.
Depending on your plumbing arrangement, this may involve closing the appropriate water isolation valves or shutting off the property’s main water supply.
Open the shower control briefly after isolation to release remaining pressure and confirm that the water has stopped flowing.
If you cannot confidently isolate the supply, or you’re unsure which valve controls the shower, contact a licensed plumber.
Never dismantle a pressurised plumbing fitting.
Step 4: Inspect the Shower Head and Connections
If the water appears to leak around the shower head, carefully inspect the connection between the head and the shower arm or hose.
For a detachable shower head, you can often unscrew it by hand. Use a soft cloth to protect the finish if a spanner is necessary.
Check the sealing washer inside the connection. If it is flattened, cracked, brittle or missing, replace it with a compatible washer.
Clean any accessible mineral deposits using a method approved for the shower head’s material. Avoid harsh chemicals or abrasive tools that could damage plated finishes or plastic components.
Reassemble the connection and hand-tighten it securely. Excessive force can damage threads or seals.
If the shower head itself is damaged or heavily blocked, replacing it may be more practical than attempting a repair.
Step 5: Check for a Worn Tap Washer
Traditional two-handle shower taps often use washers that press against a valve seat to stop water flowing when the tap is closed.
A worn washer may prevent the valve from sealing completely.
After isolating the water, remove the handle and access the valve assembly according to the manufacturer’s instructions. The exact method varies between tap designs.
Inspect the washer for signs of deterioration, including cracks, flattening, hardening or uneven wear.
If the washer is damaged and the valve design allows replacement, install a correctly sized compatible washer. Inspect the valve seat as well, because a damaged or corroded seat can prevent even a new washer from sealing properly.
Reassemble the tap, restore the water supply and check for leaks.
If the valve is difficult to remove, badly corroded or unfamiliar, stop rather than forcing it.
Step 6: Inspect a Mixer Cartridge
Many modern Australian showers use a single lever to control both water temperature and flow.
These systems commonly contain a mixer cartridge. If its internal seals wear out or deposits interfere with its operation, water may continue passing through after the handle is turned off.
Once the water supply is safely isolated, the handle and retaining components may need to be removed to access the cartridge. Follow the manufacturer’s instructions for your particular model.
Some cartridges can be cleaned, but others must be replaced. Use the exact compatible replacement specified for the mixer.
Do not assume that cartridges which look similar are interchangeable. Differences in length, seals and internal ports can cause leaks or incorrect operation.
If the cartridge is seized, the retaining nut is corroded or the mixer is built into a concealed wall assembly, a licensed plumber is the safer option.
Step 7: Restore the Water and Test the Repair
Once everything has been reassembled, restore the water supply slowly.
Turn on the shower and check that the controls operate normally. Then turn the shower off and watch for continuing drips.
Inspect the shower head connection, tap handles and accessible fittings for leaks.
A successful repair should stop persistent dripping once any residual water has drained. If the problem returns, the washer or cartridge may not be the only cause.
Avoid repeatedly tightening fittings or replacing parts at random. Reassess the source of the leak before attempting further work.
Common Mistakes to Avoid
A few simple mistakes can turn a small shower problem into a more expensive repair.
Replacing the shower head without checking the tap: A new shower head won’t fix water that continues flowing through a faulty valve or mixer cartridge.
Overtightening connections: Excessive force can damage plastic fittings, strip threads and crush sealing washers. Tighten connections securely without forcing them.
Using the wrong replacement washer: Washers vary in size, thickness and material. An unsuitable washer may still leak even when installed correctly.
Ignoring mineral build-up: Deposits can affect shower-head performance, but cleaning the head alone won’t repair a worn internal valve.
Dismantling the mixer without isolating the water: This can cause flooding and damage to bathroom fittings. Always isolate the supply before opening plumbing components.
Using harsh cleaning chemicals: Strong acids or abrasive products may damage chrome plating, other finishes, seals or plastic parts. Follow the manufacturer’s cleaning recommendations.
Helpful Tips for Better Results
A little preparation makes shower repairs easier.
- Identify the shower brand and model. Look for product information in your original paperwork or on accessible fittings. This can help you find the correct washer or cartridge.
- Take photos before dismantling anything. Pictures of the handle, retaining clip and component positions can help you reassemble the fitting correctly.
- Keep small parts together. Place screws, clips and seals in a container so they don’t disappear down the drain.
- Check the shower head separately. This helps you distinguish a connection leak from a valve problem.
- Clean the shower head periodically. Removing suitable mineral deposits can improve water flow and help prevent blockages.
- Don’t replace parts unnecessarily. Diagnose the problem first, especially if the shower is relatively new or still covered by a warranty.
If you’re renting, report persistent leaks to your property manager or landlord rather than dismantling the plumbing yourself.
When You Should Call a Professional
Some shower-head drips are straightforward to fix, but not every plumbing problem is suitable for DIY repair.
Contact a licensed plumber if:
- The shower continues dripping after a compatible washer or cartridge has been replaced.
- The valve is badly corroded, seized or damaged.
- Water is leaking from inside the wall or ceiling.
- You notice damp plaster, swelling wall materials or unexplained water damage.
- The shower uses a concealed mixer that you cannot safely access.
- You cannot isolate the water supply confidently.
- The repair involves modifying fixed water pipes or plumbing connections beyond your ability.
Australian plumbing licensing requirements vary by state and territory. Work on regulated plumbing installations may need to be performed by a licensed or otherwise authorised professional.
A plumber can identify the cause, replace the appropriate components and check whether the leak has damaged surrounding materials.
Frequently Asked Questions
Why does my shower head keep dripping after I turn it off?
A few drops immediately after use may be normal drainage from the shower head or hose. If dripping continues for a long time, a worn washer, faulty mixer cartridge or damaged valve may be allowing water through.
How do I stop a shower head from dripping without replacing it?
First, check whether the dripping is caused by normal drainage or a loose shower-head connection. Replace a damaged connection washer if appropriate. If water continues flowing through the shower valve, the underlying washer or cartridge may need repair or replacement.
Can a faulty mixer cartridge cause a dripping shower?
Yes. A worn or damaged cartridge may fail to shut off the water completely. The correct replacement depends on the mixer model, and some cartridges are better replaced by a licensed plumber.
Will cleaning a shower head stop it from dripping?
Cleaning may help if mineral deposits are affecting the shower head or its operation. However, if water continues passing through the tap or mixer when it is switched off, cleaning the head will not usually solve the underlying valve problem.
How much water does a dripping shower head waste?
The amount depends on the drip rate and the size of each drop. A slow drip wastes less than a steady trickle, but persistent leaks can accumulate over time. Repairing the source helps avoid unnecessary water use.
Should I replace the shower head or the tap washer?
If water escapes around the shower-head connection, a damaged sealing washer or faulty head may be responsible. If water continues dripping from the head after the controls are turned off, investigate the tap washer or mixer cartridge instead.
Is a dripping shower head an emergency?
A small drip is not usually an emergency, provided there is no other sign of damage. However, a sudden increase in flow, water escaping inside the wall or visible water damage requires prompt attention. Isolate the water supply if safe and arrange professional assistance.
Can I fix a dripping shower head myself in Australia?
You can generally carry out simple checks and suitable shower-head cleaning yourself. Replacing an accessible shower-head sealing washer may also be straightforward. Repairs to valves, mixers and fixed plumbing components depend on the installation and applicable state or territory rules. Use a licensed plumber when required or whenever the job is beyond your experience.
Final Thoughts
Knowing how to stop a shower head from dripping begins with identifying where the water is coming from. A little residual water after a shower may be normal, while persistent dripping often points to a worn washer, faulty mixer cartridge or damaged seal.
Start with the simplest checks, isolate the water before dismantling any plumbing component and use compatible replacement parts. Avoid forcing corroded fittings or guessing which cartridge will fit.
If the leak continues or the repair involves concealed plumbing, bring in a licensed plumber. Fixing the problem properly can help conserve water, protect your bathroom and prevent a minor annoyance from becoming a more expensive repair.