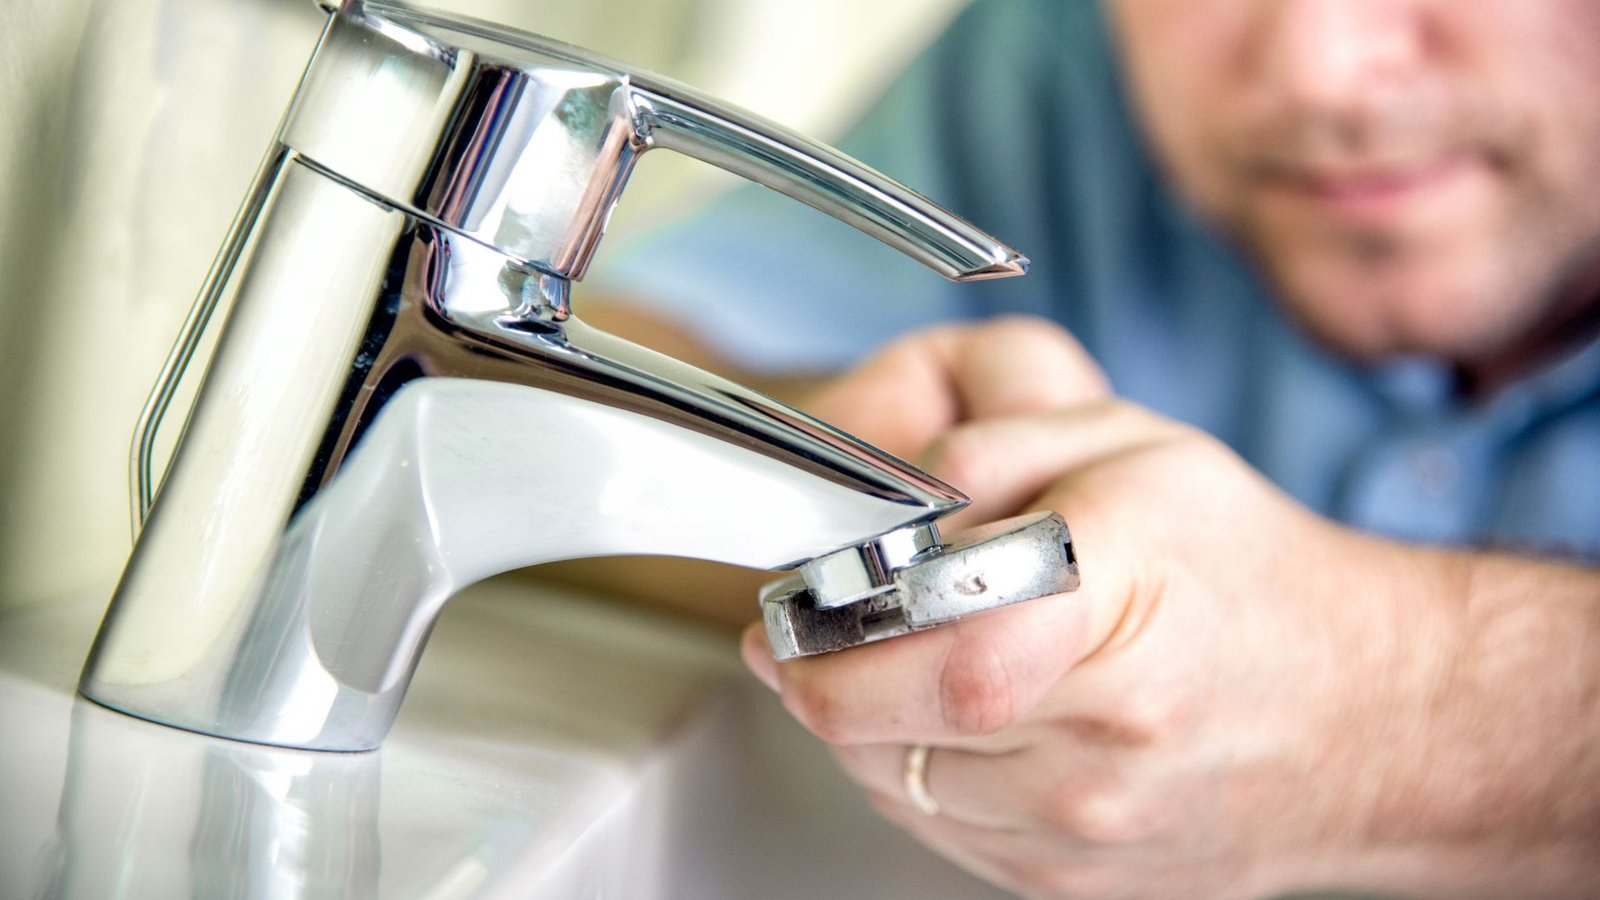
How to Fix a Leaking Tap Yourself
A Step-by-Step DIY Guide
A leaking tap might seem like a minor household annoyance, but those constant drips can waste water, leave mineral stains around your sink and become increasingly irritating over time. Fortunately, many leaking taps can be repaired at home without replacing the entire tap or paying a plumber for a straightforward job.
If you want to learn how to fix a leaking tap yourself, the first step is identifying the type of tap you have. Traditional taps with separate hot and cold handles often use rubber washers, while modern mixer taps may contain ceramic cartridges or other specialised components. Each type requires a slightly different repair.
This guide explains how to diagnose a leaking tap, gather the right tools, replace worn components and test your repair. The instructions are designed for Australian homeowners who want to tackle simple maintenance safely and know when professional help is necessary.

What You Need to Know Before Fixing a Leaking Tap
Before you start pulling the tap apart, identify where the water is coming from. The location of the leak often provides a useful clue about the faulty component.
Common problems include:
- Dripping from the spout: A worn washer, damaged ceramic cartridge or faulty internal seal may be allowing water through.
- Water leaking around the handle: An internal O-ring, seal or cartridge may be worn.
- Water leaking around the base of the tap: A damaged seal or loose connection may be responsible.
- Water leaking beneath the sink: The supply hose, connection or pipework may be leaking.
A dripping spout is often a manageable DIY repair. Leaks beneath the sink can be more complicated, particularly if the water is coming from a pipe connection or concealed plumbing.
Tools and Materials You May Need
Gather these items before beginning:
- Adjustable spanner
- Screwdrivers
- Replacement tap washer or compatible cartridge
- Replacement O-rings or seals, if required
- Soft cloth
- Small container for loose components
- Old towel
- Silicone grease suitable for potable-water plumbing components, if recommended by the manufacturer
You will not necessarily need everything on this list. The correct replacement part depends on the tap’s design and manufacturer.
How to Fix a Leaking Tap Yourself: Step-by-Step Instructions
Step 1: Turn Off the Water Supply
Always shut off the water before dismantling a tap.
Look beneath the sink for isolation valves on the hot and cold supply lines. Turn the appropriate valve clockwise where the design permits, without forcing it. Some valves use a lever or quarter-turn handle instead.
If there are no accessible isolation valves, you may need to shut off the household water supply at the main stop tap. In some Australian homes, the water meter stop tap is located near the front boundary.
Once the water is isolated, open the tap to release remaining pressure and drain the water from the spout.
Safety tip: If a valve is seized, leaking or difficult to operate, do not force it. Contact a licensed plumber if you cannot safely isolate the water.
Step 2: Identify Your Tap Type
There are two common designs you are likely to encounter.
Traditional washer taps
These usually have separate hot and cold handles. Turning a handle moves a spindle that presses a washer against a valve seat to stop the water.
Over time, the washer can wear, harden or become damaged. Replacing it may resolve the dripping.
Mixer taps
These usually have a single handle that controls water flow and temperature. Many use a ceramic cartridge or ceramic disc mechanism.
If a mixer tap drips from the spout, its cartridge or internal seals may need replacement. The cartridge must match the tap model.
Identifying the correct design before dismantling anything will help you avoid buying the wrong parts.
Step 3: Remove the Tap Handle
Place a towel over the sink to protect the finish and prevent small screws from disappearing down the drain.
Look for a small screw securing the handle. It may be visible on the side or hidden beneath a decorative cap.
If there is a cap, carefully remove it with an appropriate tool. Use the correct screwdriver or hex key to loosen the retaining screw, then lift the handle away.
Some handles can become stuck because of mineral deposits or age. Avoid forcing them, as this can damage the handle or spindle.
If the tap has an unfamiliar design, check the manufacturer’s instructions before proceeding.
Step 4: Replace the Washer in a Traditional Tap
With the handle removed, you should be able to access the tap bonnet or spindle assembly.
- Use a suitable spanner to loosen the retaining component.
- Carefully remove the spindle assembly according to the tap design.
- Locate the rubber washer at the end of the spindle.
- Remove the retaining screw if one is fitted, then take off the old washer.
- Fit a new washer of the correct size and type.
- Reassemble the spindle and tap handle carefully.
Inspect the washer seat while the spindle is removed. If the seat is heavily corroded, pitted or damaged, replacing the washer alone may not stop the leak.
Avoid overtightening the retaining screw or forcing threaded components. If the spindle or valve seat is badly damaged, professional repair may be needed.
Step 5: Repair a Leaking Mixer Tap
A leaking mixer tap may require a replacement ceramic cartridge rather than a traditional rubber washer.
The exact procedure varies between brands, but the general process is as follows:
- Confirm that the water supply is isolated.
- Remove the handle and any decorative cover.
- Locate the cartridge retaining nut or clip.
- Remove the retaining component using the appropriate tool.
- Carefully withdraw the cartridge.
- Compare it with the replacement to confirm the correct size, shape and orientation.
- Install the new cartridge as directed by the manufacturer.
- Refit the retaining components and handle.
Do not assume that cartridges are interchangeable. Even taps that look similar may use different internal mechanisms.
If the cartridge is difficult to remove, do not apply excessive force. A plumber can help avoid damaging the tap body or water connections.
Step 6: Check the Tap Base and Handle Seals
If water appears around the handle or tap base rather than dripping from the spout, the problem may involve an O-ring or another seal.
After isolating the water, inspect the accessible seals and connections according to the manufacturer’s instructions.
Replace worn seals with compatible parts. Use plumbing grease only when recommended for that particular component, and make sure it is suitable for potable-water applications.
If water is escaping from a flexible hose, supply connection or pipe beneath the sink, identify the source before tightening anything. A loose connection may be responsible, but damaged hoses and fittings can require replacement.
Step 7: Reassemble and Test the Tap
Once the repair is complete, check that every component is correctly seated and that the handle operates smoothly.
Close the tap, then slowly restore the water supply.
Open the tap gently and allow water to flow. Check the spout, handle, base and accessible connections for leaks.
Turn the tap off and wait several minutes. Look for any returning drips.
If the tap still leaks, do not keep tightening components in the hope of stopping it. The replacement part may be incorrect, the valve seat may be damaged or another seal may be faulty.
Turn off the water again before carrying out further inspection.
Common Mistakes to Avoid When Fixing a Leaking Tap
Even a simple repair can go wrong if you rush the job.
Forgetting to isolate the water
Water can escape quickly once a tap is dismantled. Always isolate the supply and release pressure before removing internal components.
Buying the wrong washer or cartridge
A washer that is too large, too small or the wrong thickness may fail to seal properly. Take the old component to a plumbing supplier or use the tap’s model information to find the correct replacement.
Overtightening the tap
Excessive force can damage threads, crack plastic components and make future repairs harder. Tighten fittings according to the manufacturer’s instructions.
Ignoring a damaged valve seat
A new washer will not necessarily fix a tap with a badly worn or corroded valve seat. Inspect the surrounding components before reassembly.
Mixing up components
Lay parts out in the order you remove them, and take photographs before dismantling the tap. This makes reassembly easier, especially if the tap has several small components.
Helpful Tips for Better Results
A few practical habits can make tap repairs easier and more reliable.
- Keep the drain covered. Use a sink plug or drain cover to prevent screws and small components from falling into the waste.
- Protect the tap finish. Wrap a soft cloth around fittings before using a spanner.
- Photograph each stage. These photographs can help you remember the correct assembly order.
- Check both hot and cold sides. On a traditional two-handle tap, the leaking side may be the only one that needs repair, but inspect both if the problem continues.
- Use manufacturer-approved parts. This is particularly important for modern mixer taps and proprietary cartridges.
- Check for leaks after use. Reinspect the tap and accessible connections later to ensure the repair has held.
Regularly checking taps around your home can also help you spot worn washers, loose handles and developing leaks before they become more troublesome.
When Should You Call a Plumber?
Not every leaking tap is suitable for DIY repair.
Contact a licensed plumber if:
- You cannot safely shut off the water supply.
- A shut-off valve is seized or leaking.
- The tap body, spindle or valve seat is badly damaged.
- Water is leaking from concealed pipes or inaccessible connections.
- A flexible hose is split, bulging or severely corroded.
- The tap continues leaking after the correct replacement component has been installed.
- You discover significant corrosion or damage to the surrounding plumbing.
In Australia, plumbing licensing requirements vary between states and territories. If the job involves regulated plumbing work or goes beyond a simple maintenance task, use a suitably licensed professional.
Frequently Asked Questions
Can I fix a leaking tap myself?
Yes, many leaking taps can be repaired by replacing a worn washer, O-ring or compatible mixer cartridge. The repair depends on the tap design and whether the underlying valve components are in good condition.
Why does my tap keep dripping after I replace the washer?
The washer may be the wrong size, incorrectly installed or unsuitable for the tap. A damaged valve seat or another faulty internal component can also cause continued dripping.
How do I know whether my tap needs a washer or cartridge?
Traditional taps with separate handles commonly use washers, while many single-handle mixer taps use ceramic cartridges. Check the tap design and manufacturer’s instructions before purchasing parts.
Do I need to turn off the water to replace a tap washer?
Yes. Isolate the water supply before dismantling the tap, then open it to release remaining pressure. Never remove internal tap components while the supply is still pressurised.
Why is my tap leaking around the handle?
A worn O-ring, damaged seal, faulty cartridge or loose internal component may be responsible. The correct repair depends on the tap’s design.
Can I use any rubber washer in my tap?
No. The washer must be the correct size, thickness and type for the tap. An unsuitable washer may not seal properly and could cause further problems.
Is it better to repair or replace a leaking tap?
Repairing a tap is often sensible when the body is in good condition and replacement parts are available. Replacement may be more practical if the tap is badly corroded, damaged or difficult to repair economically.
How can I prevent taps from leaking again?
Use suitable replacement parts, avoid overtightening handles, address drips promptly and arrange maintenance when you notice corrosion or deteriorating fittings. Normal wear cannot always be prevented, but early repairs can limit further damage.
Final Thoughts
Learning how to fix a leaking tap yourself can save time and help you manage routine home maintenance with confidence. Start by identifying the source of the leak, isolate the water supply and determine whether the tap uses a traditional washer or a mixer cartridge.
Use the correct replacement parts, reassemble everything carefully and test the tap before considering the job finished. If the leak persists or the plumbing is damaged, a licensed plumber can help resolve the problem safely.
A small drip may not look serious, but fixing it promptly is a straightforward way to reduce water waste and keep your home in good working order.